|
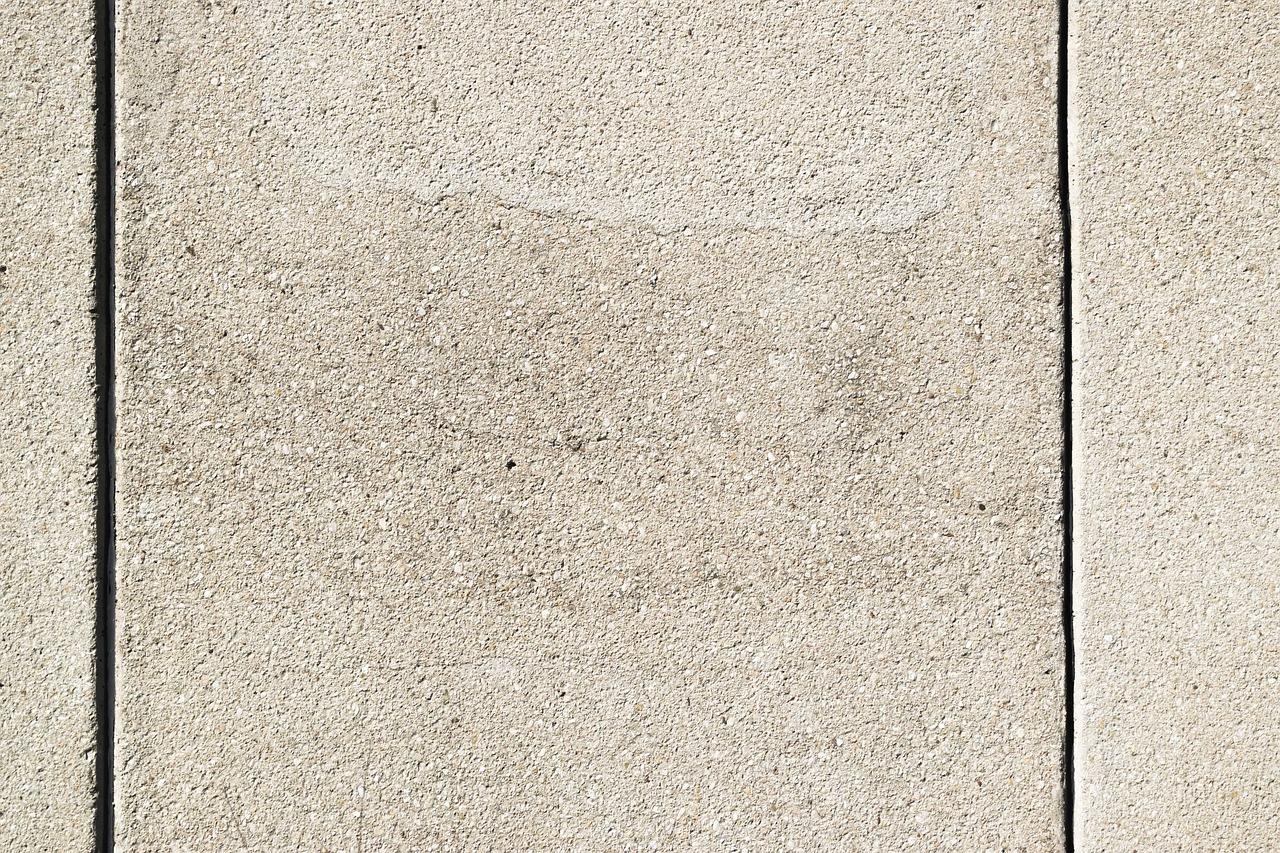
Many people believe that achieving a sleek and contemporary look in their home requires a complete overhaul or expensive materials, but this couldn’t be further from the truth. Microcement, a versatile and stylish option, offers a modern aesthetic without the need for extensive renovations. In this article, we’ll explore how to select the ideal microcement for your space, taking into account factors like durability, colour, and texture. We’ll also guide you through the crucial steps of surface preparation to ensure a flawless finish, and provide a detailed, step-by-step application process. Additionally, we’ll delve into design inspirations, maintenance tips, and budget considerations to help you make the most of your microcement project. Whether you’re revamping a bathroom, kitchen, or living room, this comprehensive guide will equip you with everything you need to achieve a chic and contemporary look with microcement. Choosing the Right Microcement for Your SpaceWhen it comes to achieving a sleek and contemporary look with microcement, selecting the right type is crucial. There are various types of microcement available, each with its own unique properties. Factors such as durability, colour, and texture play a significant role in making the right choice. For instance, if you’re looking for a highly durable option for high-traffic areas, you might consider a microcement with a thicker application. On the other hand, for a more decorative finish, a finer texture might be more suitable. Popular brands like Topciment, Microcrete, and Bealstone offer a range of microcement products, each with unique features. Topciment is known for its extensive colour palette, while Microcrete offers exceptional durability. Bealstone, on the other hand, is celebrated for its eco-friendly composition. To help you make an informed decision, here’s a comparison of different microcement types and their best uses:
Brand Durability Colour Options Best Use Topciment High Extensive Customisable finishes Microcrete Very High Moderate High-traffic areas Bealstone Moderate Limited Eco-friendly projects Choosing the right microcement involves considering your specific needs and the unique features of each brand. By understanding the different types and their best applications, you can achieve a truly modern and stylish look in your space. Preparing Surfaces for Microcement ApplicationAchieving a sleek and contemporary look with microcement starts with meticulous surface preparation. The importance of this step cannot be overstated. A well-prepared surface ensures a smooth and even application, which is crucial for the durability and aesthetic appeal of the final finish. To begin, different surfaces require specific preparation techniques. For concrete surfaces, ensure they are clean, dry, and free from any loose particles. Use a primer to enhance adhesion. When dealing with wooden surfaces, sand them thoroughly to remove any varnish or paint, and apply a bonding agent to create a suitable base for the microcement. For tiles, clean them meticulously and apply a primer to ensure the microcement adheres properly. A few tips to ensure a flawless application: always work in a dust-free environment, use high-quality primers and bonding agents, and allow each layer to dry completely before applying the next. Common mistakes to avoid include neglecting to clean the surface thoroughly, skipping the priming step, and applying microcement on damp or uneven surfaces. By following these guidelines, you can achieve a stunning, modern finish that stands the test of time. Step-by-Step Guide to Applying MicrocementTransforming your space with microcement can be a game-changer, but achieving that sleek and contemporary look requires precision. Here’s a step-by-step guide to help you nail the application process:
Pro Tips for a Professional Finish:
Troubleshooting Common Issues:
By following these steps and tips, you can achieve a professional finish with microcement, transforming your space into a modern masterpiece. Design Ideas and Inspirations with MicrocementMicrocement is a game-changer when it comes to achieving a sleek and contemporary look in your home. Whether you’re revamping your bathroom, kitchen, or living room, this versatile material can seamlessly blend into any design style. Imagine a minimalist bathroom with smooth, polished microcement walls and floors, creating a spa-like atmosphere. Or picture a modern kitchen with microcement countertops that offer both durability and aesthetic appeal. The possibilities are endless. Incorporating microcement into your existing decor is easier than you might think. Start by choosing complementary materials and colours. For instance, pairing microcement with natural wood elements can add warmth to your space, while metallic accents can enhance its modern vibe. Consider using a neutral colour palette to let the microcement shine, or go bold with contrasting hues for a more dramatic effect. For those looking for real-world inspiration, let’s dive into a couple of case studies. In one project, a homeowner transformed their outdated bathroom into a contemporary oasis by applying microcement to the walls and floor. The result was a cohesive, elegant space that felt both luxurious and inviting. In another example, a designer used microcement to create a seamless transition between the kitchen and living area, making the space feel larger and more open. These case studies highlight the versatility and transformative power of microcement, proving that it’s not just a trend but a timeless design choice. Maintaining and Cleaning Microcement SurfacesWhen it comes to maintaining and cleaning microcement surfaces, it’s all about being smart and proactive. Daily maintenance is a breeze if you know what you’re doing. For everyday cleaning, simply use a soft cloth or mop with a neutral pH cleaner. Avoid harsh chemicals like bleach or ammonia, as they can damage the surface. Trust me, you don’t want to ruin that sleek, contemporary look you’ve worked so hard to achieve. Periodic maintenance is equally important. Every few months, give your microcement surfaces a bit of extra love by applying a protective wax. This not only enhances the shine but also adds an extra layer of protection against wear and tear. If you notice any stains, act quickly. For stubborn stains, a mixture of baking soda and water can work wonders. Just apply it to the stain, let it sit for a few minutes, and then gently scrub it away. Handling repairs might sound daunting, but it’s easier than you think. Small cracks or chips can be fixed with a microcement repair kit, which you can find at most home improvement stores. Follow the instructions carefully, and you’ll have your surface looking as good as new in no time. To prolong the lifespan of your microcement surfaces, avoid dragging heavy furniture across them and use felt pads under chair legs. With these tips, your microcement surfaces will stay stunning for years to come. Transform your bedroom with microcement at https://festshop.eu/ Cost and Budget Considerations for Microcement ProjectsWhen diving into a microcement project, understanding the cost and budget considerations is crucial. Several factors influence the overall cost, including the size of the area, the complexity of the design, and the quality of the materials used. For instance, a small bathroom might cost significantly less than a large living room due to the difference in surface area and intricacy of the application. To give you a clearer picture, here’s a cost breakdown for different project sizes: – Small Bathroom: £500 – £1,000 – Medium Kitchen: £1,500 – £2,500 – Large Living Room: £3,000 – £5,000 Comparing microcement to other materials, it often falls in the mid-range. For example, traditional tiles might be cheaper, but they lack the seamless, modern look that microcement offers. On the other hand, high-end materials like marble can be significantly more expensive. To make the most of your budget, consider these tips: 1. Plan Ahead: Detailed planning can help avoid unexpected costs. 2. Choose Quality Materials: While it might be tempting to cut costs, investing in high-quality microcement ensures durability and a better finish. 3. DIY Where Possible: If you’re handy, consider doing some of the prep work yourself to save on labour costs. By keeping these factors in mind, you can achieve a sleek, contemporary look with microcement without breaking the bank.
|